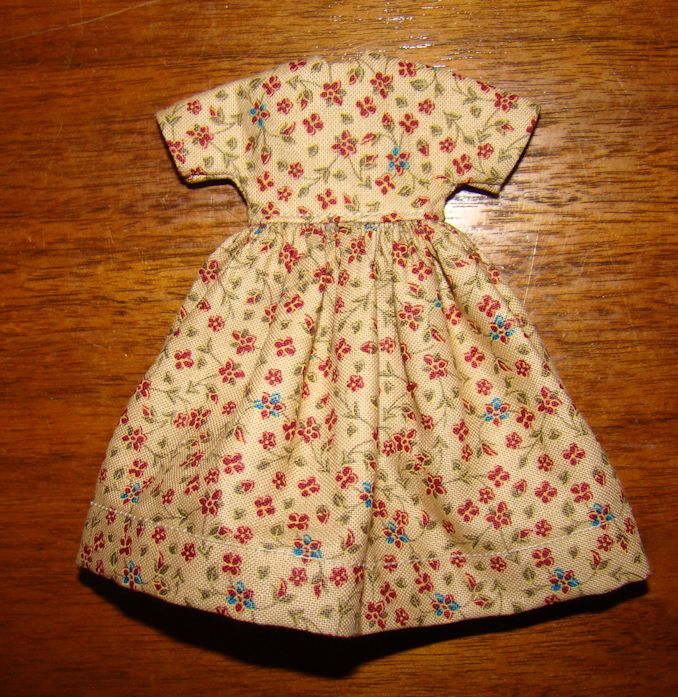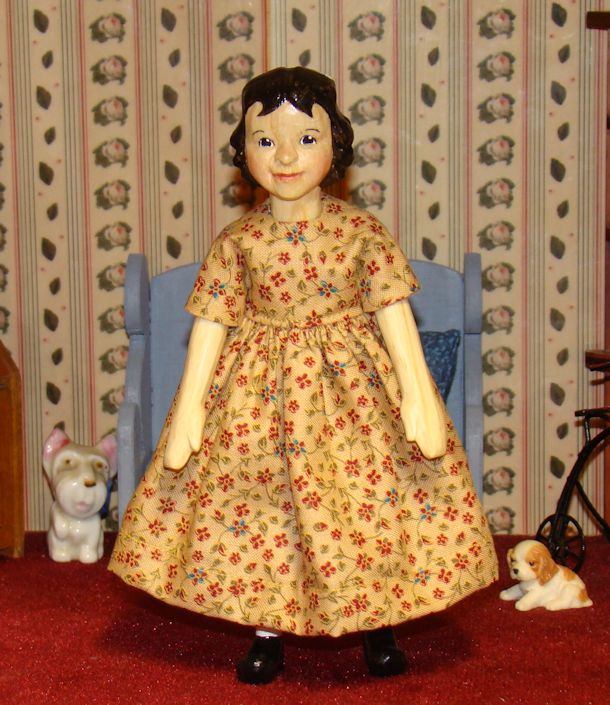
Quick & Easy Hitty Dress Sewing Tutorial
Tutorial © 2012-2026 Maria Thompson — All Rights Reserved
I hope you enjoy this tutorial, and I also hope that you find it useful in learning how to sew a simple yet elegant dress for your Hitty. These dresses, although plain, can be made into elegant gowns with just a bit of lace and additional trim! Experiment, and I hope you have fun sewing a whole wardrobe of dresses for your Hitty!
Sewing Hittys Bodice
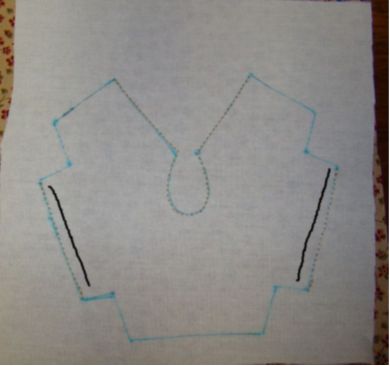
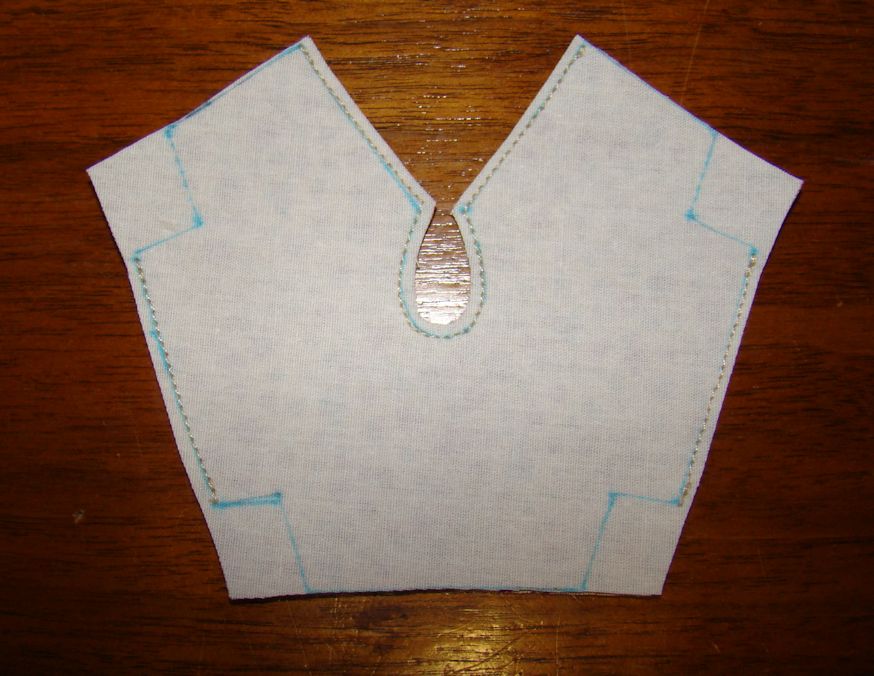
First, layer two pieces of fabric together with the right sides facing. Trace your bodice pattern using a water-soluble pen (the marks disappear when wet) or very light pencil marks.


Next, set your machine to sew 16 to 18 stitches per inch, and sew on top of the traced lines along the back flap, around the neck, and then back up the other back flap.
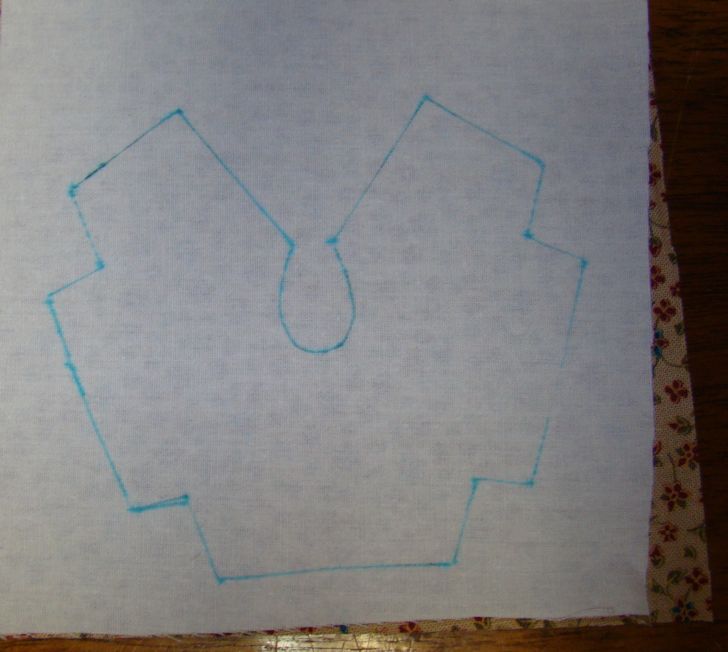

Cut the bodice out by cutting 1/8″ seam allowances around it, but do NOT cut around the area under the arms, as shown in the image.
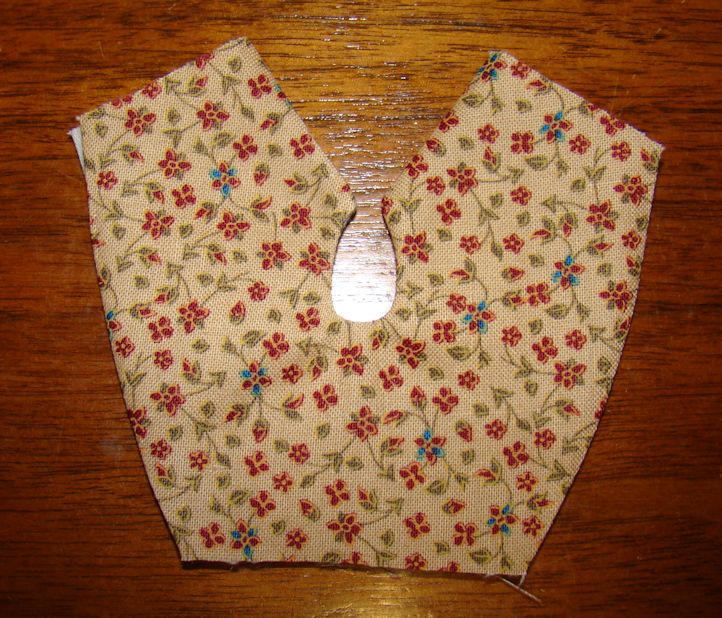
Then turn the bodice right sides out and press it flat.

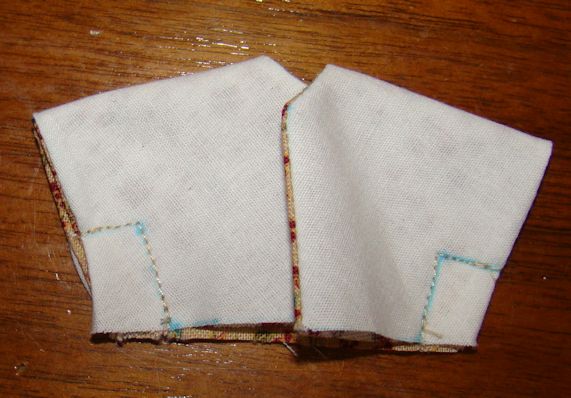
Fold one side of the bodice down and stitch along the line under the arm. Redraw the line if needed.

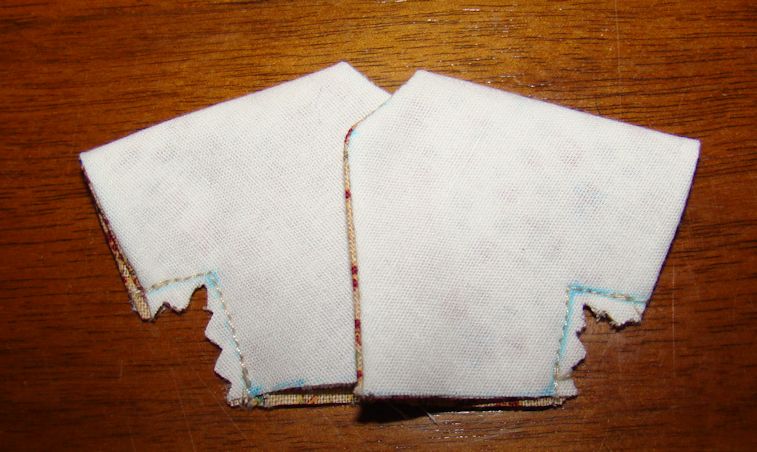
Sew under the second arm, then carefully cut the fabric under the arms out with pinking shears to help prevent fraying.

Turn the bodice right sides out again and press under the arms so that it lies flat.
Cut a rectangle of fabric that is 12 inches wide by 4½ inches tall for the skirt.
Fold the sides in 1/8″ and press, then fold them in 1/8″ again and press to hide the raw edge (similar to how one would fold a hem, except it’s on the sides).

Sewing Hittys Skirt
Sew the sides down by making a /18 hem on the sides.
Your our machine should be set to 16 to 18 stitches per inch.
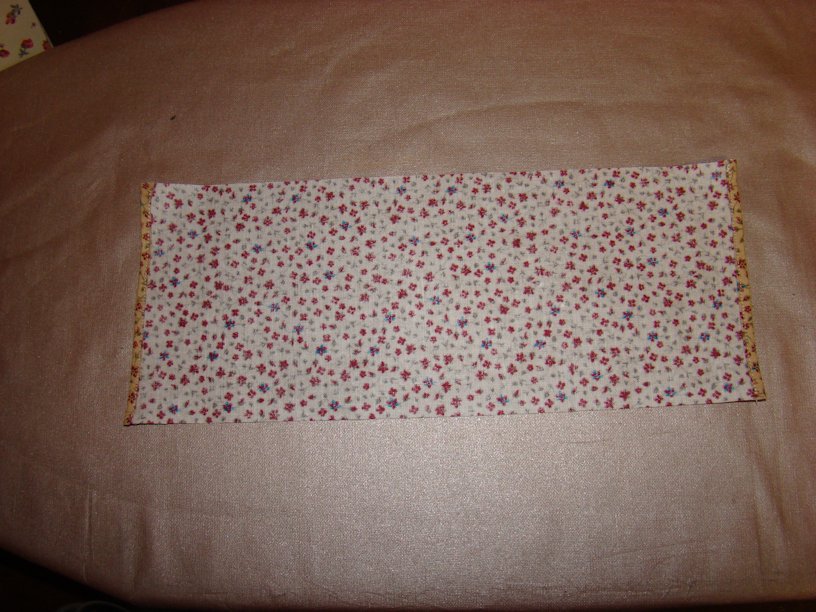

Fold up the bottom of the skirt ½”, then fold up ½” again to create the hem.
Stitch the hem down, again at 16 to 18 stitches per inch.
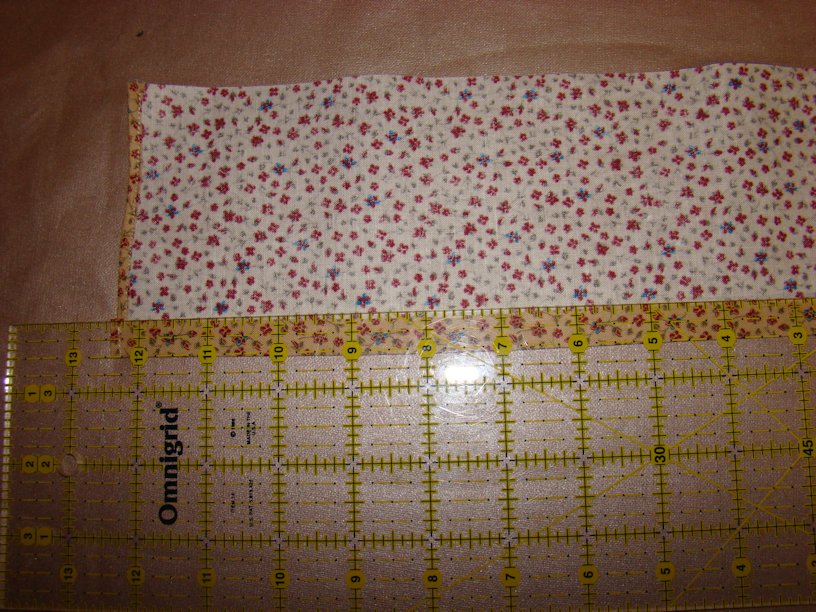
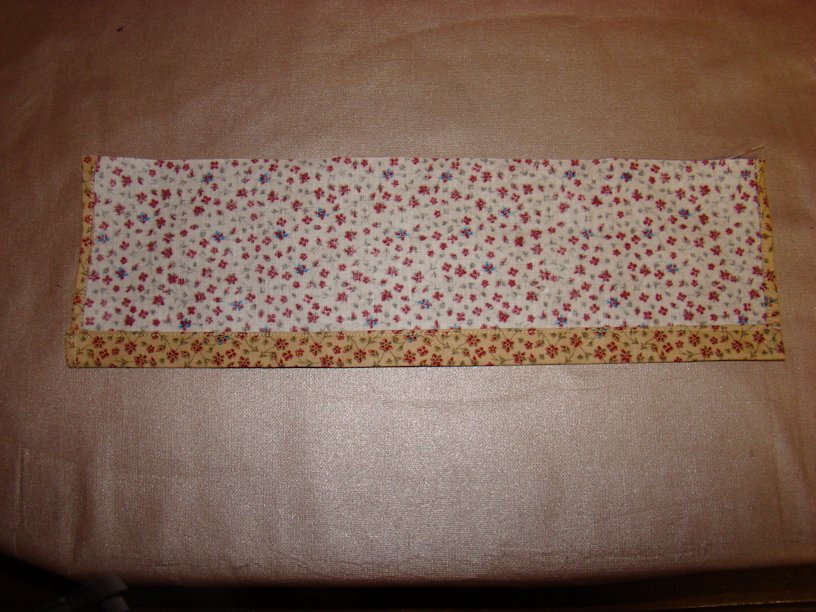
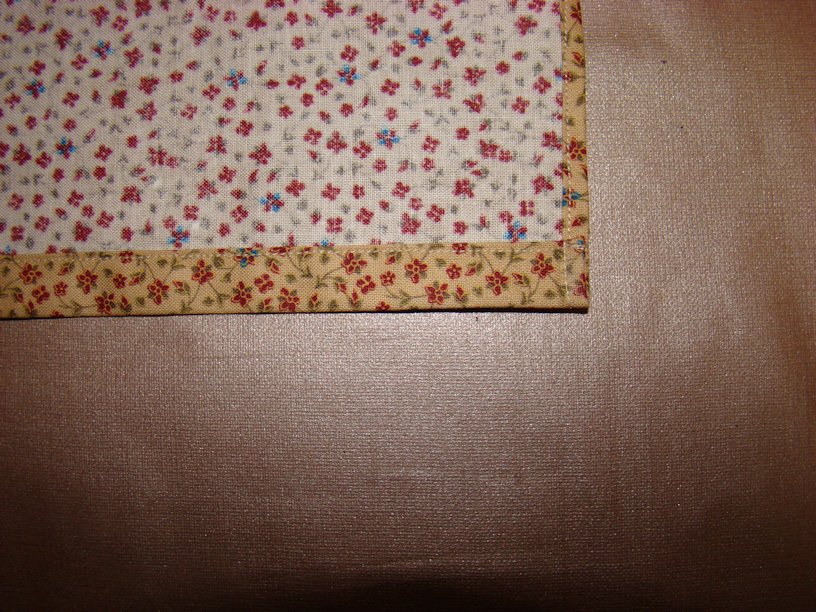
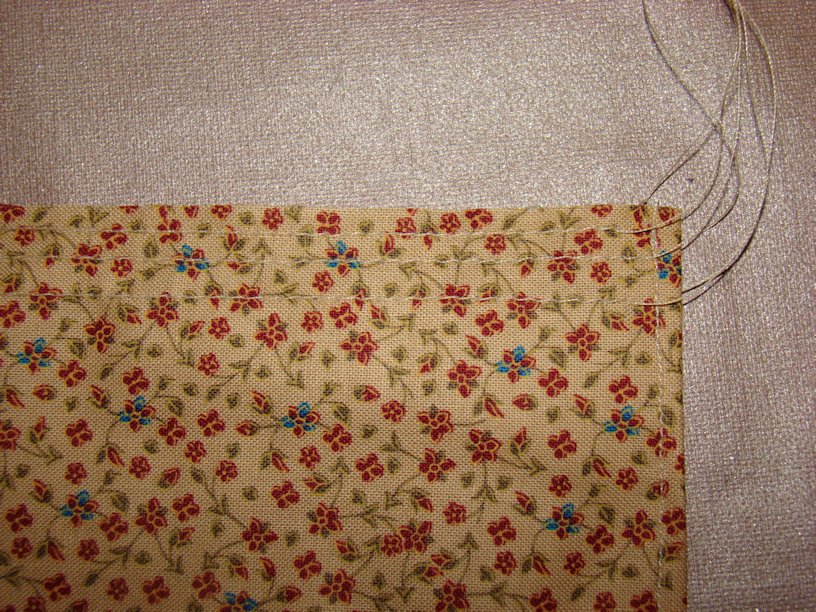
Now set your machine to sew 10 stitches per inch, and sew three rows of gathering stitches along the top of the skirt.
They should be spaced 1/8″, 1/4″, and 3/4″ from the top edge.
Fold the bodice in half and press down the center to mark the middle seam, as shown in the photo above.
Do the same for the skirt, then align the bodice to the skirt with right sides facing together, and pin the two together with a pin directly in the middle of each.

Next, pin the edge of the skirt to the edge of the bodice, and gently pull the three rows of gathering stitches (by pulling the three threads on the back only, not all six threads) until the skirt is gathered to fit the bodice.
Pin as needed to hold the skirt in place, and do the same for the second side.

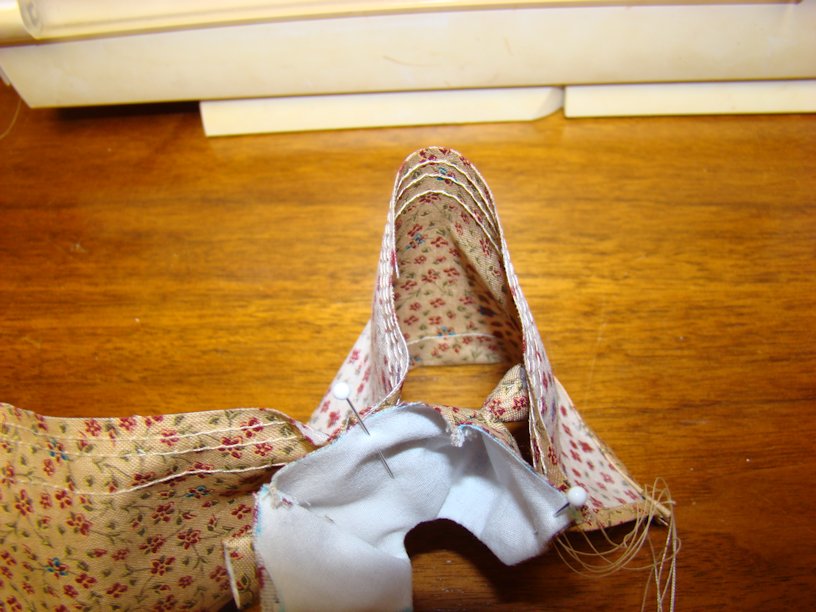

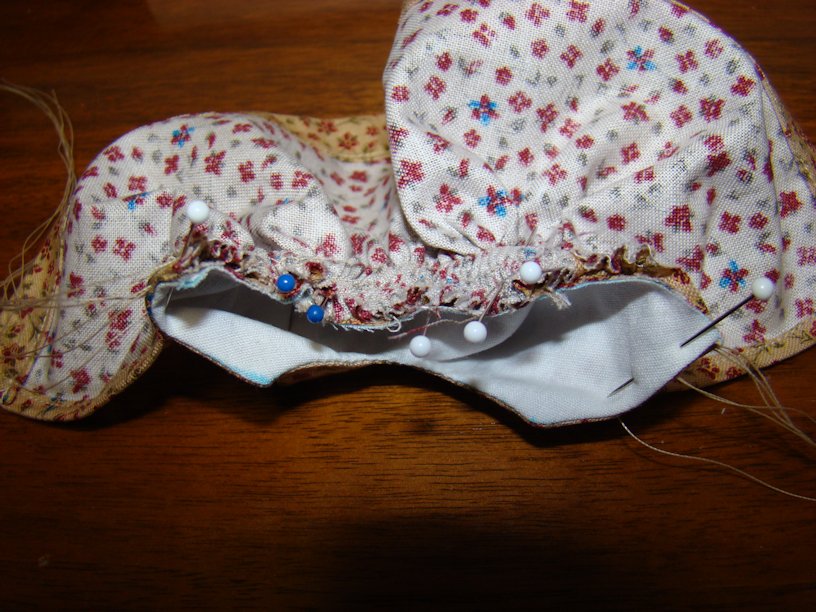
Set your machine back to 16 to 18 stitches per inch and sew the skirt to the bodice.
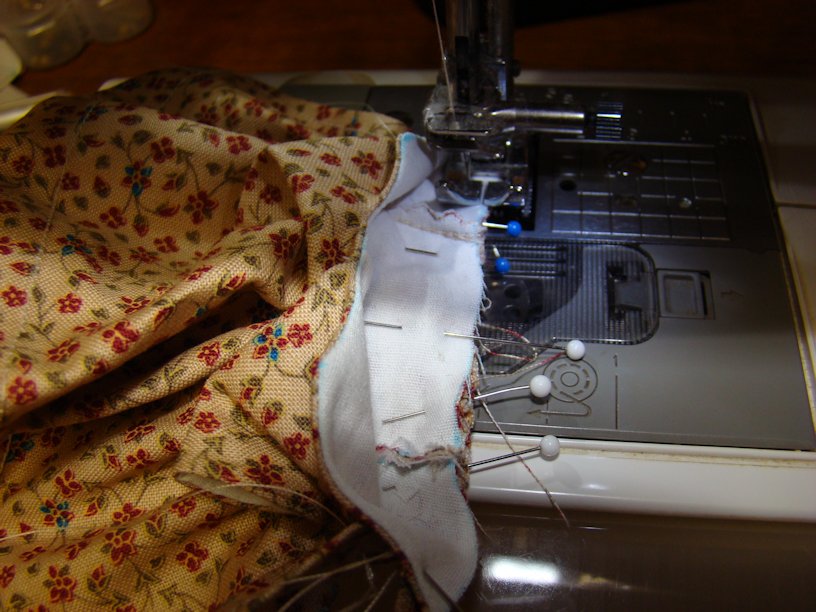
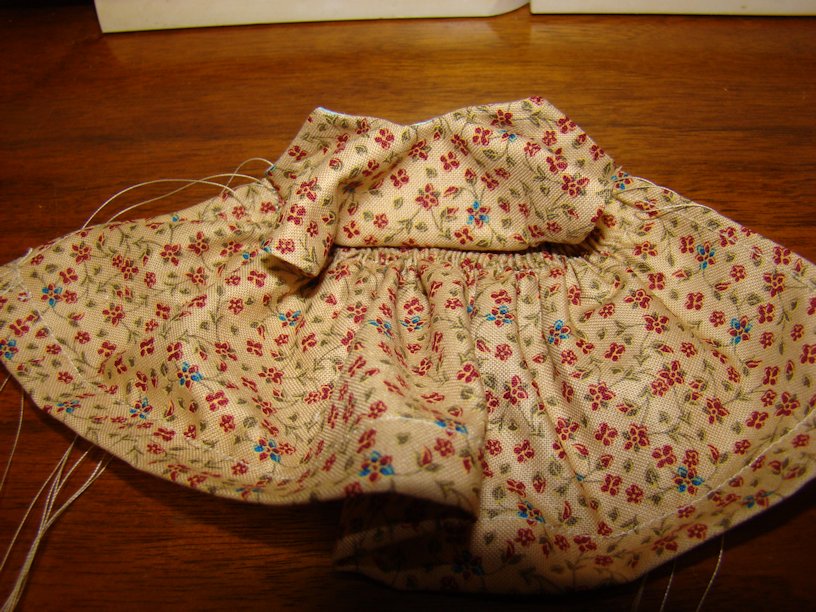
Now press the bodice flat and sew a line of stitches at the bottom of the bodice, with the skirt seam allowance pressed upward.
This helps secure the skirt to the bodice and gives the dress a neater appearance.
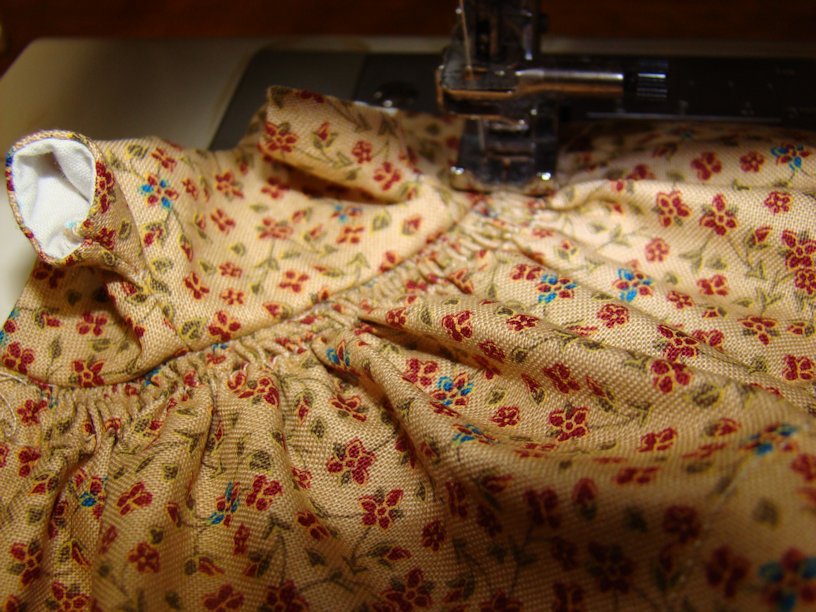
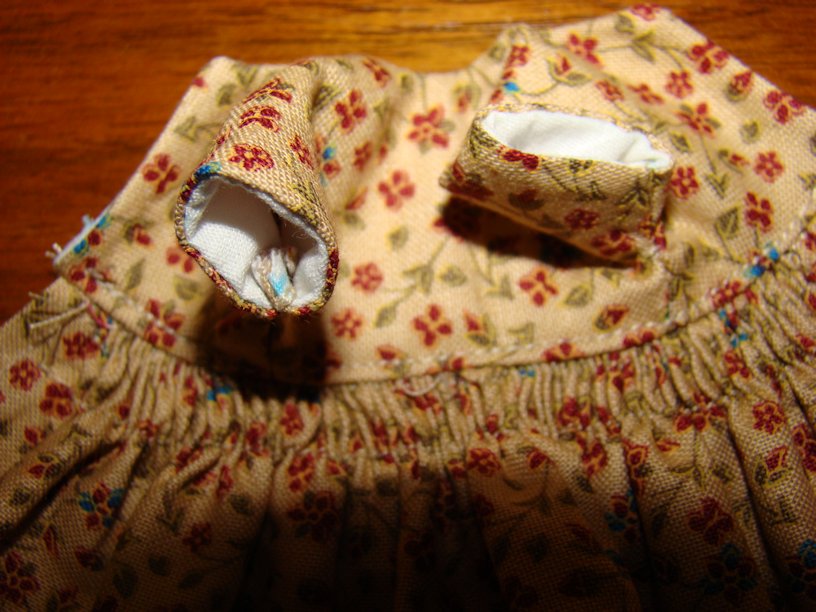
Pull out the gathering stitches, then pink the skirt seam inside the bodice to help prevent fraying.

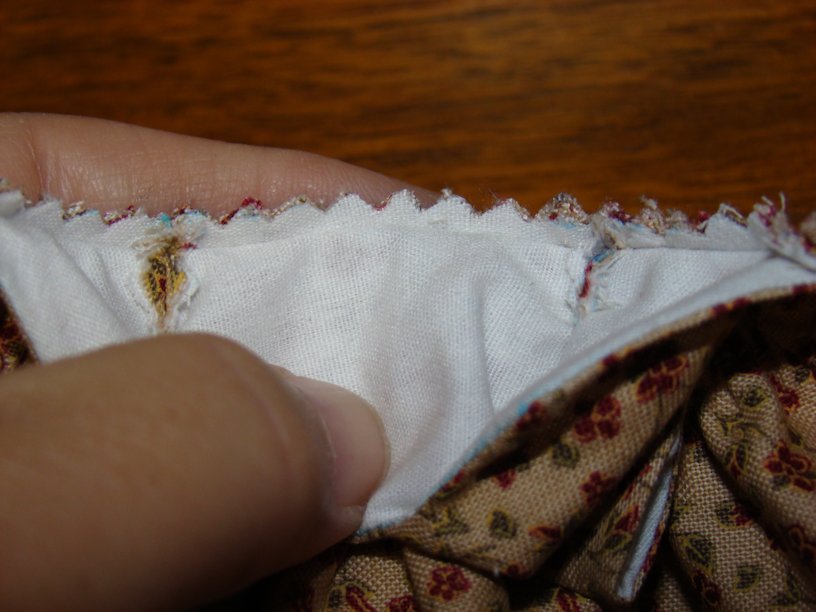
Sew two size 4 snaps on the back, and enjoy your new dress!