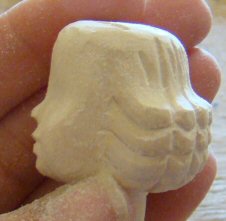
This tutorial is rather long with a lot of information, and a lot of images. I know the page will probably load slowly for some with slow connections, but please wait patiently as the images load. It is very image intensive.
You will be using your rough cutter to begin with, but switching from bit to bit as your Hitty’s personality emerges. I use two dremels when I am carving the face, simply because I don’t like to stop and change my bit so much. I like to pick up a dremel and keep carving while things are flowing smoothly for me. If you only have one dremel, just remember, you will be changing your bits a lot, so have them handy before you begin the face.
The first thing you will need to do is round the bottom sides of the face on both sides. The photo below shows the “corner” that need to be rounded.

Here I have rounded the side corner on one side of my Hitty’s face.

Here’s a side view so that you can see how the cut should flow. It goes all the way to the hairline, and up towards her cheek.

Once you have rounded the side corners, you will want to carve away the big bulge at the bridge of her nose.

I do this by gently laying the cutter on her face, flat, while carving the slope using the side of the cutter to carve the outward slope that becomes the tip of her nose.
I also run the cutter down the face to get rid of the roundness caused by the turning.

Here’s what the nose looks like once the bulge is carved away.

Here I have carved the face flat, which removes my “center line”. I use the nose now as a reference for the center of the blank.
Next I mark where I want the nose and mouth to be. Since I place my eyes at the halfway mark, I usually cut the bottom of the face in half. I draw a line about halfway between nose and chin, then the edge of the nose about halfway between nose and mouth mark.

For the next few steps I use the diamond cutter shown in the photo below. The cutter is very slim and narrow, and able to carve very thin lines in soft wood.
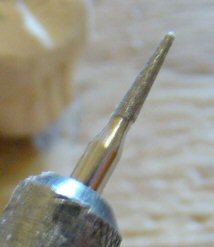
First you will want to run the cutter across the face right at the nose line, as shown in the photo below.

Here’s a photo showing how deep my cut is once completed.

Next you will want to make cuts on the sides of the nose, not right beside the nose, but a tad inside the halfway mark between side of nose and side of face. The wood inside these marks will be the mouth.

Next, with your rough cutter, carve away the excess wood on the cheeks. You will also need to carefully carve away the excess wood on the sides of the nose, as shown in the markings below.

Here’s a photo showing the cuts from a different view.

Here’s how your Hitty should look once the excess wood is removed from side of nose, and cheeks.

Here’s a view from the side.
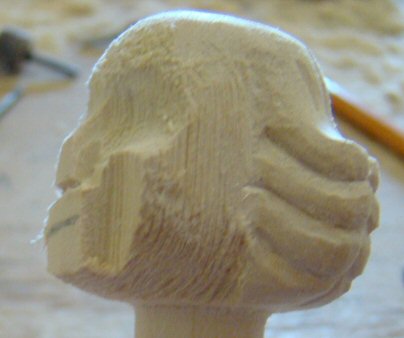
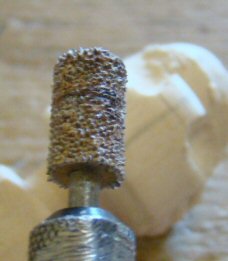
Next you will need to use your stone sander to shape the eye sockets and top of head.

The eye sockets should have been made pretty deep when you were following the separate face from head tutorial, if not, use your rough cutter first to make them deeper.
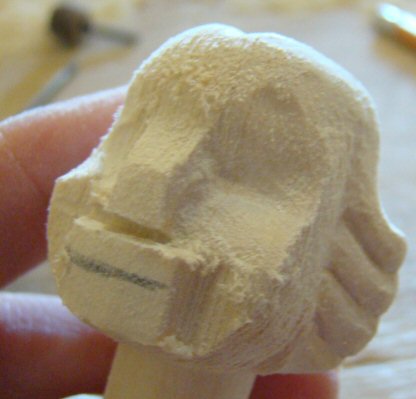
Then using the stone sander, gently sand the eye sockets, and around the forehead so that this area smooths into a smooth round head.
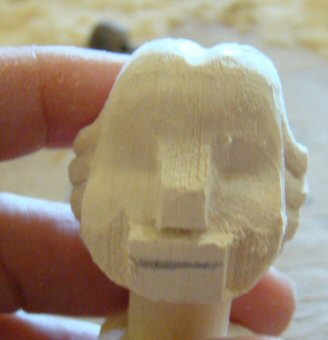
You should also sand down the temples to meet the hairline.

Also sand down the cheekbones, making them a smooth round shape.

Next, use the cutter shown below to start carving your lips.

gently run the cutter across the mouth mound, to make a V dent all the way across.

Next, using the same cutter, carve the mound sides at an angled slope, as shown in the photo below.

Here’s a profile view to show you how deep I am making my cuts. Notice they are not too deep, simply because you will be working to take a bit of wood away a bit at a time. You don’t want to carve a lot of wood at once, it’s too easy to make mistakes that can’t be corrected if you do that. By carving bit by bit, you can easily correct most mistakes.

The next step can be done with one of your tiniest diamond bits, but I like to use my knife so I can get a crisp cut. Gently poke your knife into the mouth, to form a “smile”, or use your finest bit to carve a smile.

Once your smile is carved, use your cutter to carve the lips more at an angle on the inside. Notice the arrow below, it’s pointing to the upper lip, notice the extra wood going up instead of as far down as it was in the previous photo.

Next, using your sander, sand the bridge of your nose round. Using your smaller diamond bit (shown in photo below), sand the tip of the nose into a more rounded shape. Notice below my bridge has been sanded, and the lines point to the four corners of the nose. I sand these corners down gently using the cutter shown in the image below.

Here’s a side view of the Hittys profile now.

Here’s the diamond bit I use for carving the extra fine detail around the nose and mouth. I will call it the small diamond sander from here on out because you’ll be switching between it and the orange stone sander to get your Hitty’s face completed from here on out.

Next, again using the small diamond bit, sand the bottom of the nose into a more “childlike” shape.

Here’s the nose once it’s been sanded into it’s final shape. It will require hand sanding later to get rid of the “fuzzies” but for now, the nose is completed.
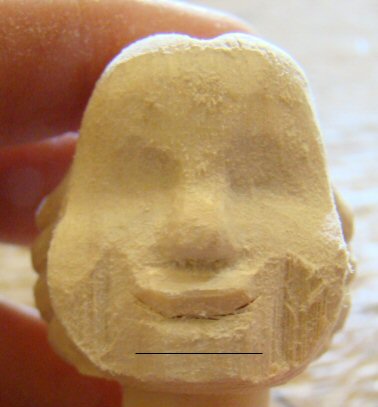
Here’s another side view showing her profile with her nose completed. Any sharpness left on the nose will be removed when hand sanding with 300 grit or finer sandpaper.
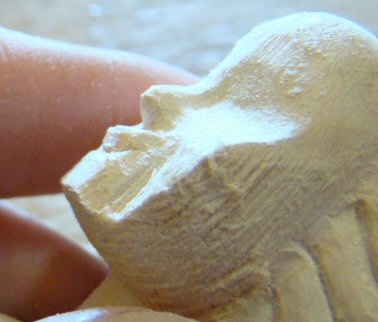
Next, using the small diamond bit sander, sand away a line right below where you wish your bottom lip to end, to form a mound for the chin as shown in the photo below.
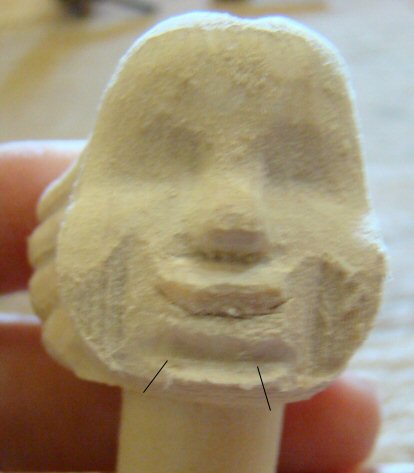
Now that you have very basic rough cuts of the mouth and chin, you should use your orange stone sander to sand back the cheeks until they are round and smooth.

Here’s the cheeks once rounded and smoothed.

Next, again using the orange stone sander, sand the bottom of the chin upward a bit, and sand away the sides of the chin to make it smaller.
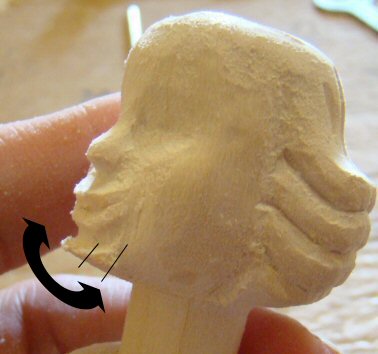
Here’s a profile showing the bottom of the chin, and the chin mound once the sides have been smoothed away.

Next you will want to sand the lips into a more “oval” shaped mound. Right now your Hitty looks like she is puckering up for a kiss, it’s time to remove that pucker.

Here’s how her mouth looks once the pucker has been sanded down GENTLY.

Again carve the smile, and carve the angles for the inner parts of the lips.
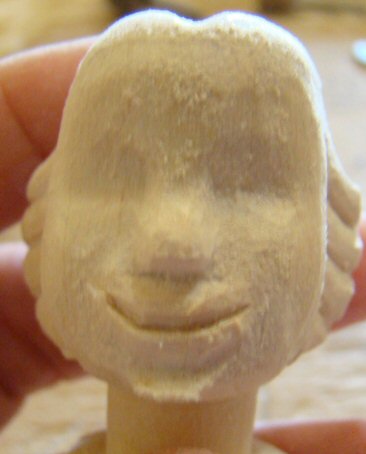
Here’s a side view to show her profile now.
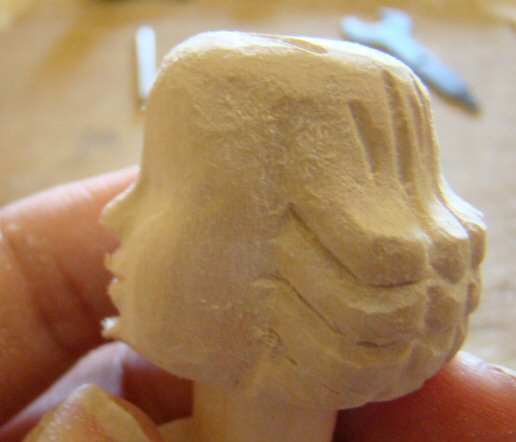
Next, using the small diamond bit sander, gently sand the indentation between nose and lips, as pointed at in the photo below.
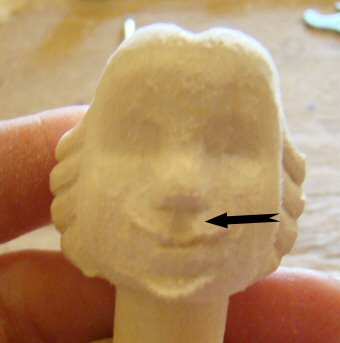
Now using the same bit, sand away the sides of the bottom lips so that they are brought in a wee bit more than the upper lips. This helps to shape her smile.

Gently carve more detail to the inner lips, being careful to not cut too deeply. The small diamond sander bit will shape the inner lips nicely if you use a VERY gentle touch.

Here we can see that working on the inner lips has created a sharp edge. The chin also still has a sharp edge. gently sand away any sharped edges so that everything flows nice and round.
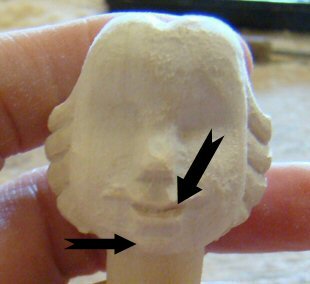
Again sand a bit on the sides of the lower lips to help bring back out her precious smile that was somewhat erased with the previous sanding.

Your Hitty’s face is now completed!
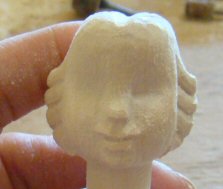
Here’s a view of her side profile, as you can see there are still a few minor sharp edges on the nose and lower lip. Sand these areas down by hand, using 300 grit or finer sandpaper. The objective is to have all the areas flowing smoothly into each other, and rounded with no sharp edges or corners.
The next tutorial explains how I power sand my Hitty’s before I begin hand sanding them. The final tutorial shows this same Hitty once she is completely sanded, painted and dressed. It also shares resources for learning advanced carving techniques.