Now that you’ve completed your Hitty’s arms and legs, it’s time to work on helping her personality emerge! The arms and legs were basic rounding and shaping, with very little detail. The next few tutorials are a bit more complex, because you’ll be carving more detail rather than basic shaping as you did with the arms and legs.
This tutorial explains how to separate the face from hair at the top of your turned blank. If you have not ordered a turned blank yet, click here to contact me about how to acquire one.
If this is your first time carving a Hitty, I want to encourage you to not give up if you are disappointed with your results. It takes time and patience to carve a Hitty, especially when it comes to carving the face and hair. With practice, your carving skills will improve over time as you carve more and more Hittys.
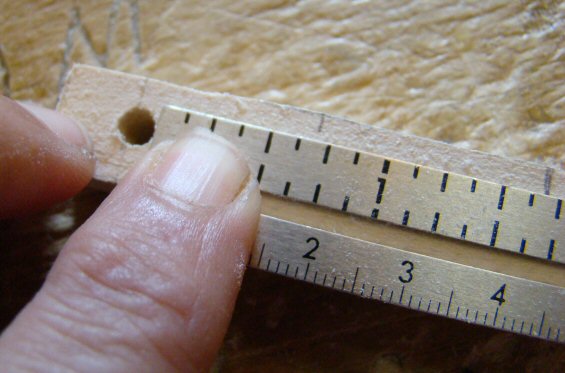
To begin this lesson, you will first want to mark the center of your Hitty’s head. To make this easier, place the arms and legs temporarily on your Hitty so that you can lie her flat as you measure to find the center of her face.
In the photo below, you can see how I hold my ruler to find the center. I place it right below the head, on the flat plane, find the center, and place a tiny mark.

Read more