In this tutorial I show you how to carve your Hitty’s feet. When carving the feet, you should always use very light cuts since the feet are pegged. The peg joint is a strong joint for Hitty play, but if too much pressure is applied, one could break the foot off.
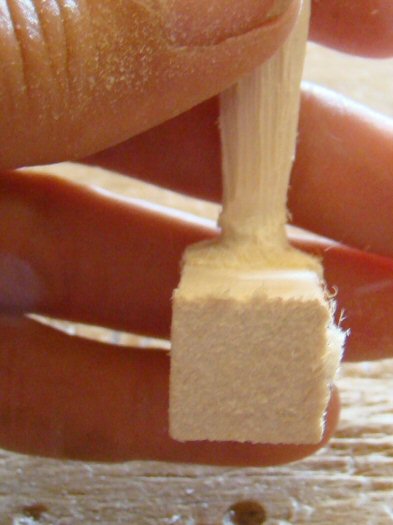
First, you should carve the sides to make the foot more narrow. I do this by placing the foot on my table, and running my cutting tool down the sides as shown in the photo below.

Here I have carved down one side, notice how the left side is further away from the ankle than the right side. You want to carve the side down to where it is about 1/16 of an inch away from the ankle.

Here I show how the foot should look once both sides have been carved down.
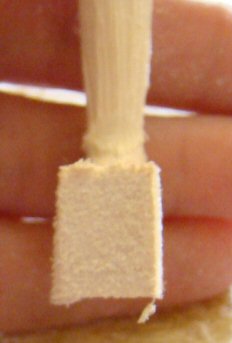
Next carve the sides on the second foot, then place both on the table together to be sure that both are of the same width.

Next you’ll need to carve away the bottom of the feet. I carve my feet to be 3/8 inches tall, as shown in the photo below.

Here’s the first cut to show how one should begin carving down the foot.

This is how I hold my carving tool when carving this section. I place the foot on the table and hold it at the ankle with my left hand, while running my tool down the bottom of the foot using several different passes.
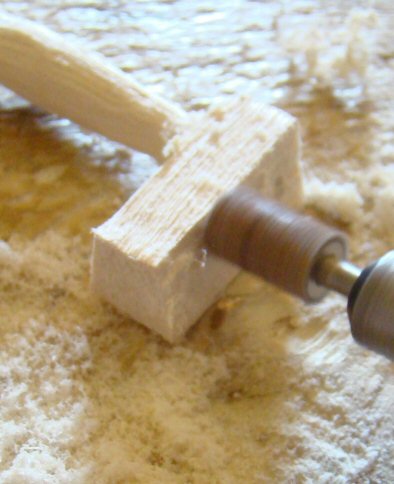
Once I have done this, the foot is a bit uneven on the bottom. I then hold the foot in my hand and run the cutting tool along the bottom VERY gently until it’s even all across.

Here’s my foot once the bottom has been carved and flattened to where the foot is of the proper height.

I then carve the bottom of the other foot, then I place both legs on a dowel to compare the two. Here you can see they are not even with each other. Holding the two together like this, gently carve until both are even so that your Hitty will stand properly without toppling.
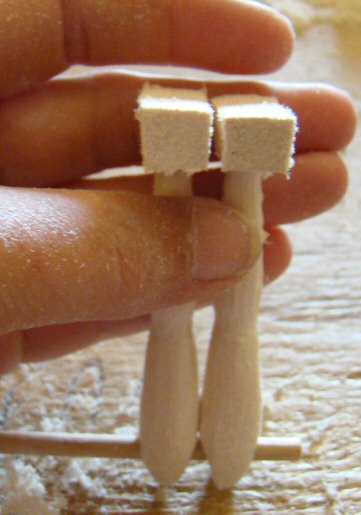
Next, using your fine sanding barrel, sand the bottom of the feet until they are smooth.

Next you’ll be rounding the back of the foot by carving away the corners, then gently rounding into a half circle shape.

Here’s my foot once the back has been rounded.

The back of the foot may extend out a bit too far, it should extend about 1/6″ to match the sides. Keep rounding it until it is of the same distance from the ankle as the sides are.

Next you’ll want to round off the sharp edge where foot meets ankle. You can do this by GENTLY touching the edge with your cutter, rotating the foot all around until this edge is rounded so that ankle flows smoothly into foot.

Here’s what your foot should look like once the edge is rounded off.

Next you’ll want to carve away the front of the foot is it’s too long. The foot should measure 7/8 inches long from back of ankle to front of foot.

The front is carved away like you did the sides, using multiple LIGHT cuts, working downward, as you support the foot by holding it down on your table.

Here’s what the shortened foot should look like now.

Carve the second foot, and again compare the two to be sure they are both of the same length.

Next you’ll angle the sides by carving them at an angle from back to front. Your cuts will be made so that your foot is shaped as shown in the illustration below.
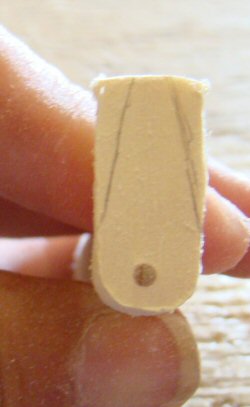
Here’s the foot once the sides are carved at the proper angles.

Complete both feet, and again compare them together to be sure they match.

Next you’ll carve the top of the foot down at an angle. The cut near the toes should reach about midway from top to bottom, to get the proper angle.

Here’s the foot once the top has also been carved down at an angle.

Place the two feet together and compare again to be sure both match.
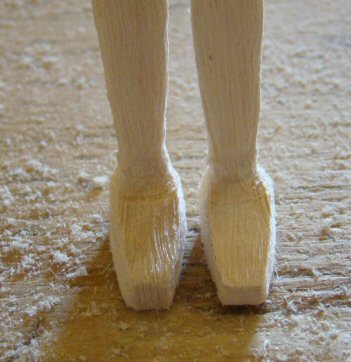
There will be sharp edges on top of the feet, you’ll want to run your cutter down the edges to angle the top of the foot. You can round this area off if you like, but I normally leave the top of the foot sharp.

Your Hitty’s feet are now completed, and you’re done with the legs!
