This tutorial covers carving the upper arm. The arm is carved pretty much like the leg, by marking the areas for elbow and wrist, rounding these areas, then carving downward angles and rounding the top of the arm.
First you will need to mark your arm blank. Place your ruler right at the bottom of the peg hole, and mark a line 11/16 of an inch down (1/16 of an inch before the 3/4 mark).
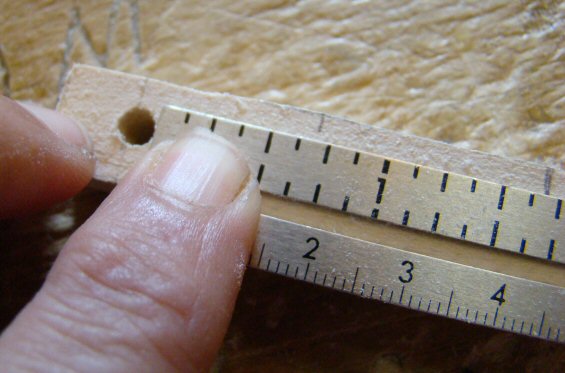
Next place your ruler on the mark, then mark exactly 1 inch down, this is where the wrist will be carved.
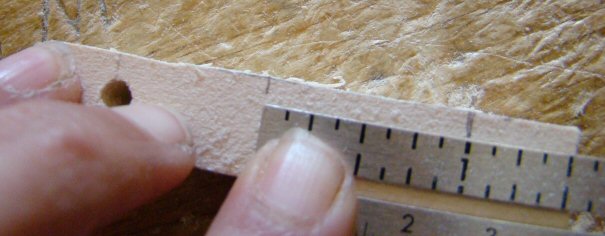
Here’s what your arm blank should look like once marked.

As you did with the legs, run your cutter across the marks.
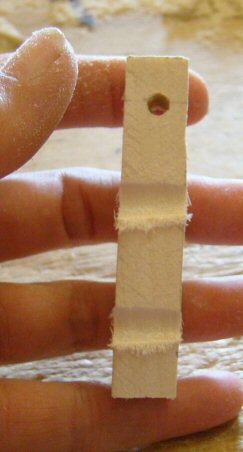
Next run your cutters around the blank, as you did for the knee section of the leg.

Place both arms on a dowel, and mark the second arm to match the first arm.

Round the cuts at the elbow.

Carve downward at an angle, as you did for the legs, with your top part of the cuts beginning right at the peg hole.

Next round the top of the arm as you did the top of the leg.
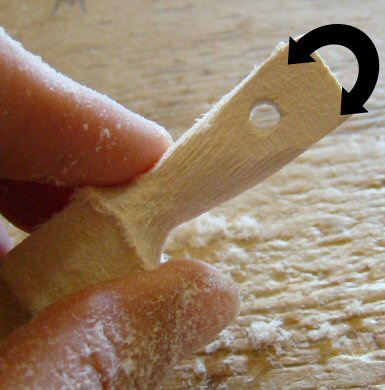
Here’s the rounded area once done.
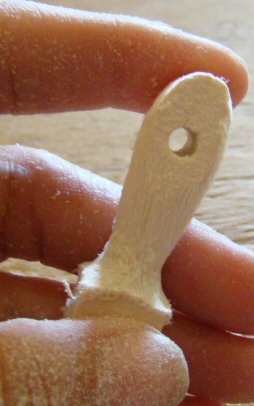
Next, round one side of the arm, as you did the side of the leg. You will leave the other side flat so that it will fit flush against the body.

Here’s the upper arm once rounded.


Place the arm on your Hitty. Notice the top is not flush with the body, it’s too high. You’ll want to carve this down flush.

Here I have drawn a line to show how the upper arm should be flush with the body. The top of the arm is now too wide, so you’ll wish to round it some more.
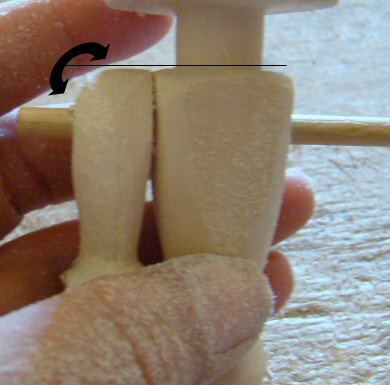
Here’s the arm once flush and rounded.
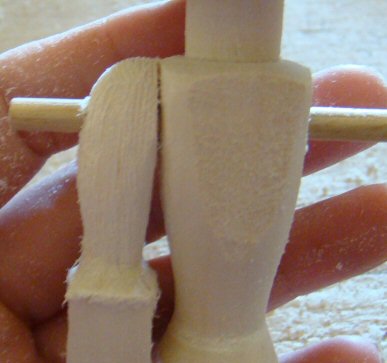
Next, take in the elbow a bit, as you did the knees.

Gently carve downward angles to make the arm smaller.

Place the arm on the Hitty, verify that all looks well, then begin working on the second arm.

Here’s the Hitty with both upper arms carved.
