Carving the lower leg is much easier than carving the upper leg because there’s not much “shaping” to it. All one has to do is gently round the leg from knee to foot.
The Turned Hitty Blank comes with a leg piece that has “pegged” feet like the original Hitty. This peg has been centered where it is placed up the foot, into the square leg piece. When carving the lower leg, you should periodically look at the bottom of the foot and eyeball the peg with your cuts. You don’t want to cut so deep that you cut the peg.
The foot has been reinforced with wood glue as well, so if you accidentally cut into the peg, don’t despair. You can add a dot of super glue to the cut area for added strength, or use wood putty to repair the cut.
You’ll be using the same rough cutter to carve the lower leg, as you used to carve the upper leg.
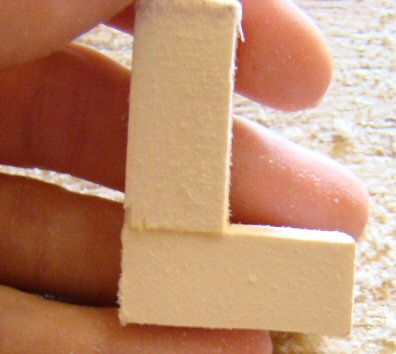
The bottoms of both leg pieces are even with each other (the feet may not be even but you’ll cut them even later when you begin working on the feet), and the “lower leg cut” is already been marked so there’s no need to measure. Simply cut a groove right above the line where the leg and foot meets as shown in the illustration below.

Next, carve the groove on the back and other side of the leg. Do not attempt to carve a groove on the front part of the leg yet, there’s excess wood that needs to be removed first to make the cut easier.
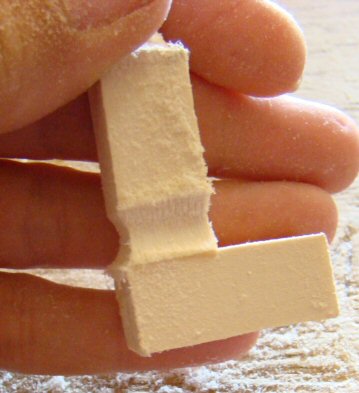
Next round off the sharp corners as you did with the upper leg.

Next, carve at an angle as shown in the illustration below. You do not want your cut to go all the way up to the knee, leave about 3/16 inch of wood at the top so that this area can be “rounded” later.

Gently carve the angled cut on the front of the leg also, being very careful around the foot area.
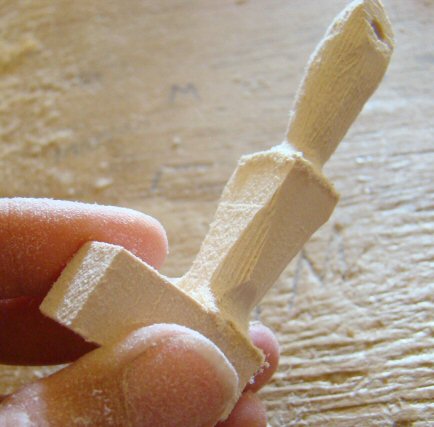
Now gently round off the lower leg as you did the upper leg.

This illustration shows the leg rounded. Notice the “ankle” section does not go as deep as the knee section. Gently carve this section down a bit, being careful to not cut so deep as to carve into the peg.

Here I have carved the back of the ankle down to be more in line with the knee.

Here the sides are too wide, they need to be carved in also. Again, when carving this area, be careful to not carve the peg.
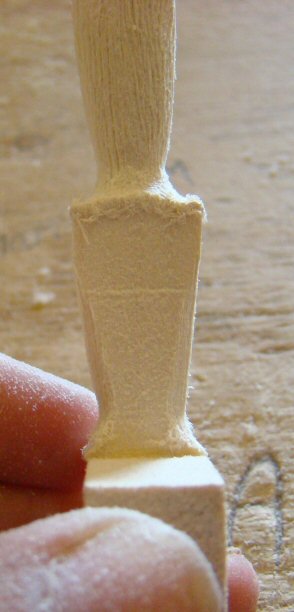
Here’s the sides after they have been carved in to be more in line with the knee sides.

Here’s a side view of my leg so far, notice I have not yet carved the front at all.
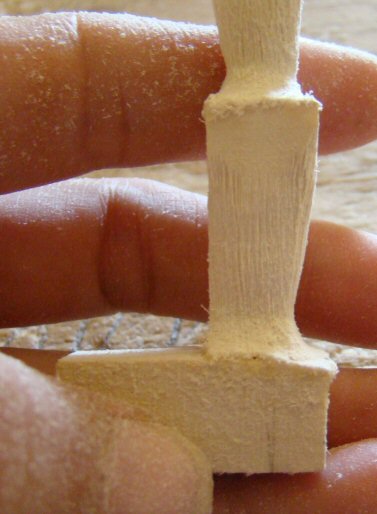
To carve the front, you’ll need to angle the cutter as shown in the illustration below so that it will not cut into the top of the foot.
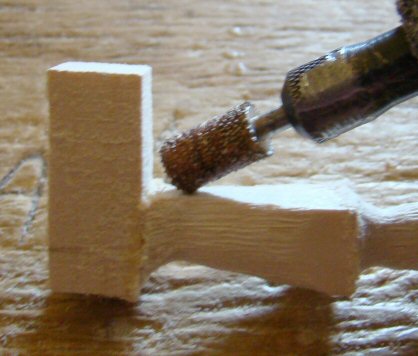
Cut a tiny triangle groove right above the top of the foot.
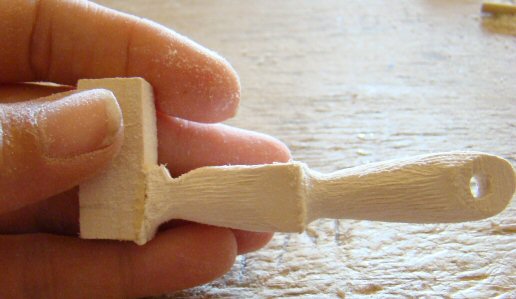
Now you can round off the front of the leg, without cutting into the top of the foot. If you’ll look at the photo below, you’ll see that the area where the lower leg meets the foot is “rounded” a bit too much.
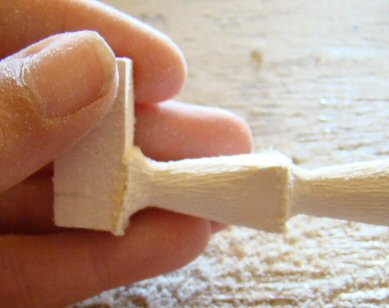
Again using the corner of the cutter, taking VERY light cuts, cut around the lower leg to clean up the area where leg meets foot.
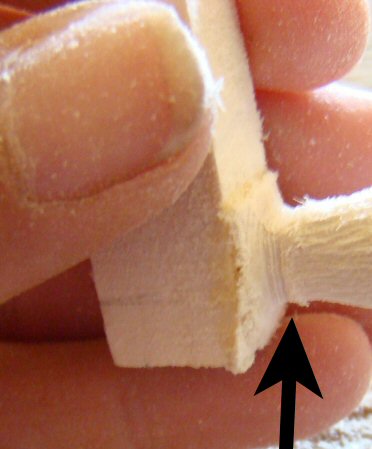
Next you will want to round off the top of the lower leg by carving the corners away gently.

Here you can see how the leg will look once the corners are carved away. Next, you’ll want to round this sharp area into a “mound”.

Here you can see the mound, notice how the leg looks like a stretched oval now.

Now you’ll want to start trimming the excess wood away, first by carving down beneath the lower part of the mound gently.

Next, carve up and around the mound gently.

Again trim off a bit more at the bottom, using a VERY gentle touch, until your leg is shaped as you wish it to be.

Trim down the mound to match the lower part of the leg, being sure to not trim away the indentation for the knee.

The lower leg is now completed, here’s a photo showing how both legs appear once placed on your Hitty.
