Carving the hands is pretty simple, again it’s rounding off and shaping corners. Your hands should be tiny square blocks at this point. To begin shaping them, first carve away the four corners.

Next, using the edge of your cutter, gently round the hand near the wrist area as you did with the ankles.
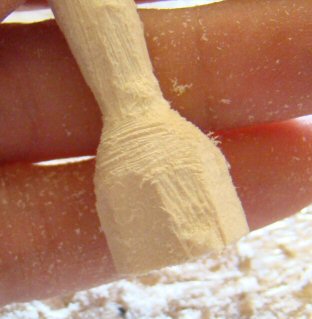
Next round the top of the hand by cutting at an angle all the way around it.
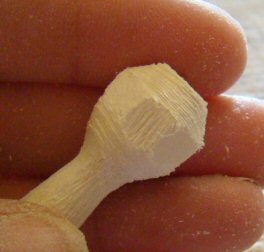
Gently carve away any sharp edges to make a “ball” shape.

Next, carve one side of the ball flat, as shown in the illustration below. This flat area will become the palm of the hand. Notice that my Hitty’s hand was carved down to where it is just at 1/16 of an inch away from Hitty’s wrist. This will leave excess wood to make the “palm” later.
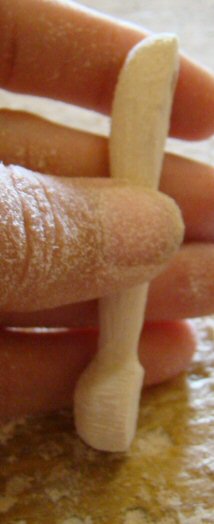
Next, using your fine barrel sander, sand the flat area smooth.

Now sand smooth the area where the thumb will be. You’ll want to sand this now, because if you try to sand it after the thumb is carved, you will end up sanding away most of your thumb.

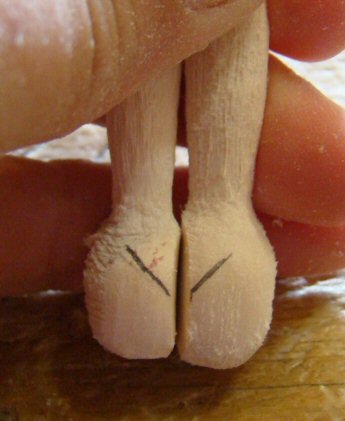
Shape and sand both hands, then place both arms on a dowel to hold them evenly together. Next, draw a V as in the illustration in the photo below, to mark where the thumbs will be.
You’ll be using this cutter to make the thumbs, and to shape the palm.

Gently cut along the line you marked, to make the impression of the thumb on the outside of the hand.

Next, make an angle cut on the inside of the palm to complete the thumb. Then make a straight cut across the palm to begin the “cup” of the hand. Gently carve away the excess wood from thumb and palm cut, down to fingertips, to finish forming the “cup” of the hand, as shown in the illustration below.
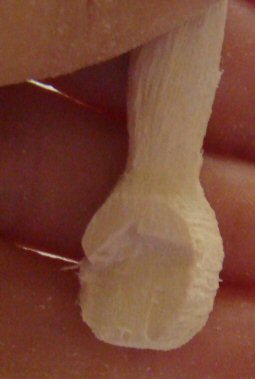
Here’s another view of the hand at this stage. You’ll sand the palm down a bit later when you begin sanding your Hitty.

Here’s another view of the hand, so that you can get an idea of how deep the cuts should be.

Next you’ll want to sand the sides of the hand into a rounded “V” shape, as shown in the photo below. The drawn lines show the angle of the cuts that you should make.
You can use your cutter to make these cuts if you like, but I prefer to use my rough barrel sander to sand the hand shape, to be sure that I don’t carve away too much wood.

Next you’ll be carving (or sanding) the back of the hand at an angle.

Here’s what your hand should look like at this point.

The top of the hand will have some sharp edges at this point, gently carve these sharp edges away, and round off the hand.

Here’s the hand once rounded. Once you have your hand rounded, it should be completed. But before you stop, test the hand by placing it in the sleeve of a Hitty dress to be sure it’s tiny enough to fit. My hand here was a bit big, so to make it smaller, I would gently sand away the mound as shown by the marked lines in the photo below.
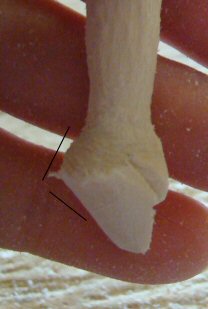
Here’s my hand once completed, it’s now tiny enough to fit in a Hittys sleeve.

Complete both hands, then your arms are completed. In the next tutorials we’ll start carving the head, hair and face!
