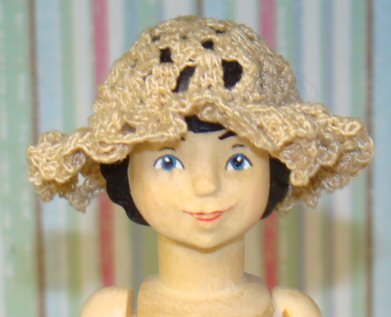
Separating the face area from the hair area

Now that you’ve completed your Hitty’s arms and legs, it’s time to work on helping her personality emerge!  The arms and legs were basic rounding and shaping, with very little detail.  The next few tutorials are a bit more complex, because you’ll be carving more detail rather than basic shaping as you did with the arms and legs.

This tutorial explains how to separate the face from hair at the top of your turned blank.  If you have not ordered a turned blank yet, click here to contact me about how to acquire one.

If this is your first time carving a Hitty, I want to encourage you to not give up if you are disappointed with your results.  It takes time and patience to carve a Hitty, especially when it comes to carving the face and hair.  With practice, your carving skills will improve over time as you carve more and more Hittys.

To begin this lesson, you will first want to mark the center of your Hitty’s head.  To make this easier, place the arms and legs temporarily on your Hitty so that you can lie her flat as you measure to find the center of her face.

In the photo below, you can see how I hold my ruler to find the center.  I place it right below the head, on the flat plane, find the center, and place a tiny mark.

Read more

Carving the upper arm

This tutorial covers carving the upper arm.  The arm is carved pretty much like the leg, by marking the areas for elbow and wrist, rounding these areas, then carving downward angles and rounding the top of the arm.

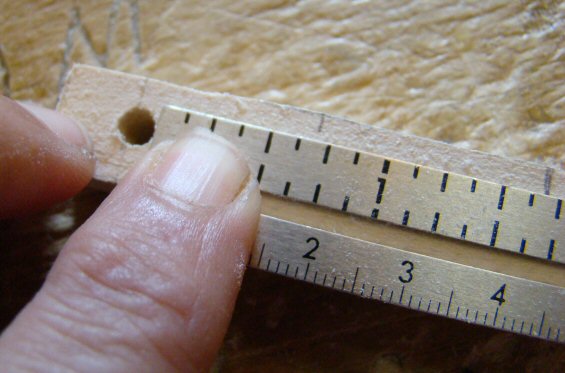
First you will need to mark your arm blank.  Place your ruler right at the bottom of the peg hole, and mark a line 11/16 of an inch down (1/16 of an inch before the 3/4 mark).

Read more

Carving the feet

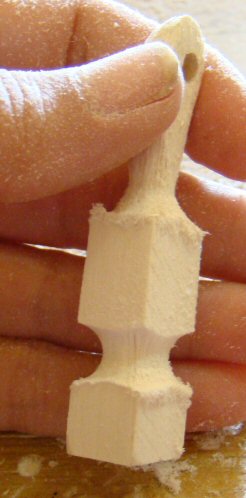
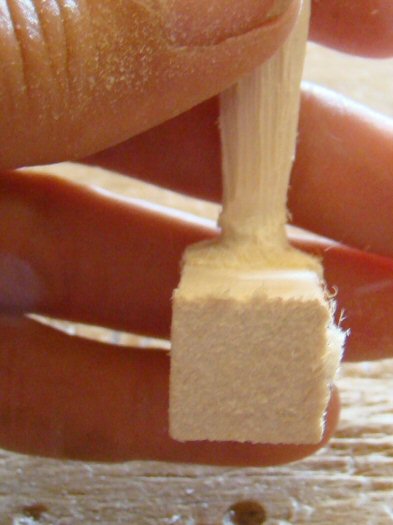
In this tutorial I show you how to carve your Hitty’s feet.   When carving the feet, you should always use very light cuts since the feet are pegged.  The peg joint is a strong joint for Hitty play, but if too much pressure is applied, one could break the foot off.

Read more

Carving the lower leg

Carving the lower leg is much easier than carving the upper leg because there’s not much “shaping” to it.  All one has to do is gently round the leg from knee to foot.

The Turned Hitty Blank comes with a leg piece that has “pegged” feet like the original Hitty.   This peg has been centered where it is placed up the foot, into the square leg piece.  When carving the lower leg, you should periodically look at the bottom of the foot and eyeball the peg with your cuts.  You don’t want to cut so deep that you cut the peg.

The foot has been reinforced with wood glue as well, so if you accidentally cut into the peg, don’t despair.  You can add a dot of super glue to the cut area for added strength, or use wood putty to repair the cut.

You’ll be using the same rough cutter to carve the lower leg, as you used to carve the upper leg.

Read more

Carving the upper leg

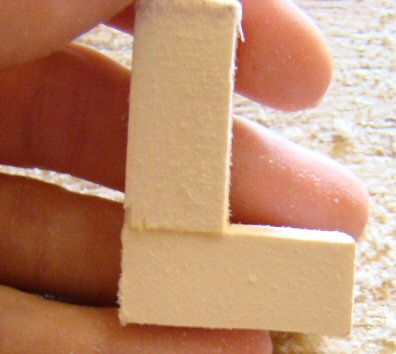
Carving the legs and arms consists mainly of “rounding” your blanks.  There’s some shaping involved, but mostly it’s removing and rounding the “bulk” areas using a series of angled cuts.

To carve the upper leg, first take a ruler and measure exactly 1 1/8″ from the bottom of the peg hole.  This is where the “knee” will be placed.

Read more

Dremel Bits I Use To Carve A Hitty


Below are images of the bits I use when I am power carving a Hitty.  I don’t know the proper names for some of the bits, so I took detailed photos so one can clearly see the shape and grit of the bits.

This is the bit I use the most.  I use it to do most of my carving.  It leaves a very rough finish, so I always leave enough wood to be sanded away using my barrel sanders, without making my limbs too tiny.  I have found that if I carve too small with this bit, then once sanded smooth, the limbs are very petite and tiny. 

Read more